1932 Bucciali TAV 12 – Grille
by James Howe on Mar.29, 2011, under Automobiles
(Nikon D700, 70-300mm at 122mm, ISO 200, Exposure 1/125 sec @f/8.0)
In my previous post I mentioned that the image I posted was not the one I was originally planning on posting. My original thought was to post this shot of the grille of the 1932 Bucciali TAV 12 and include the shot of the full car as additional reference to let the viewer see what the entire car looked like. Since I posted the full view, I figured it was time to post the detail shot.
As you can see, processing was fairly simple. Some minor cropping and a conversion to black and white to emphasize the look of the chrome on black.
Just for fun, I ran my Photoshop action which creates ‘circle’ images. I think it created a pretty nice image:
Let me know what you think, or if you have any questions or suggestions. Remember to click the image to see it in lightbox mode.
One more thing, please check out the changes that I’ve made to my gallery pages, available off of the home page. You can click the large image in the gallery and see it in lightbox mode as well. Keep checking back as I’m planning on making some other enhancements as well.
Copyright © 2010-2011 James W. Howe – All rights reserved.
’32 Bucciali TAV 12
by James Howe on Mar.26, 2011, under Automobiles
(Olympus E-3, 14-54mm at 17mm (2x crop factor), ISO 100, Exposure 1/100 sec @f/7.1)
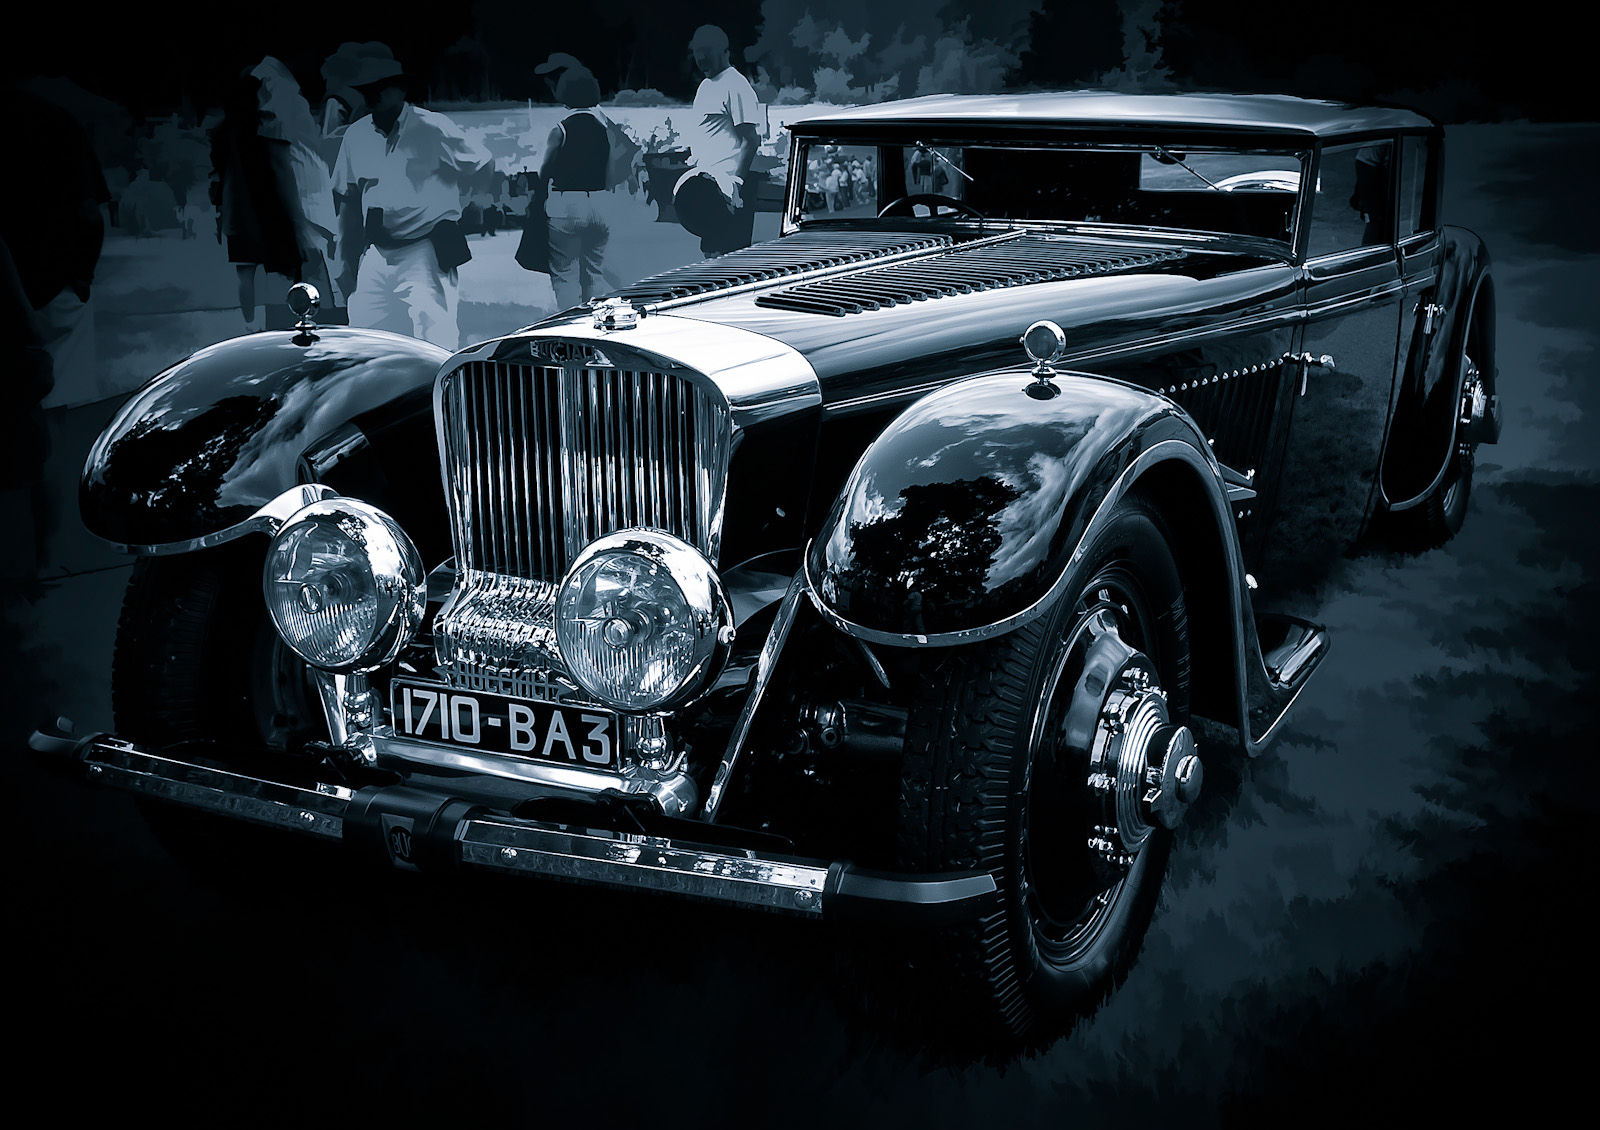
Today’s image was not the image that I was planning on posting today. I have another shot of this car, a detail shot of this 1932 Bucciali TAV 12, which I was going to post. I was simply going to clean up the full length shot of the car to give viewers an opportunity to see what the entire car looked like. The picture was taken at the 2010 Concours d’Elegance held at Meadowbrook Hall in Rochester Hills, Michigan. The show always features a terrific collection of classic automobiles both common and rare. This car was parked under a tree and was the first car people saw when the entered the grounds. Lots of people were surrounding the car so it was difficult to get a clean shot. I never really thought I would do anything with this picture, but as I started to make changes, I started to like it more and more.
The first thing I did was to perform some cropping in Lightroom. I wanted to eliminate as many of the people in the shot as I could. I then applied a post-crop vignette to darken the edges and make the people disappear a little more. I was going to stop here, but I just couldn’t resist making some additional tweaks in Photoshop. In Photoshop, I started to clone out some distracting elements. There were a couple of places which had ropes that I thought I could easily get rid of. There was also a person’s head showing up just behind the car and I figured that was easy to remove as well. I then thought I would try using Topaz Simplify to creatively blur out the remaining people. I’ve done this before and I like the effect. I use the Buz Sim preset and then mask out the parts of the image that I want clear. In this case, I masked out the car. I like the way Buz Sim makes the grass and people a little more abstract.
At this point I once again thought about quitting, but decided to try one more thing. I wanted to see what it would like in black and white so I opened up Silver Efex Pro2 and played around a bit. I noticed that I really liked some of the darker presets, but I didn’t want the car to be too dark so I increased the brightness just a bit. I also decided to give the image a blue tone. A minor curves tweak and some sharpening and I ended up with the image you see above (click to see it larger). Compared to the original (seen below) I think it’s a big improvement.
Love to know what you think about the image. Please leave your comments below. Also notice that I’ve started to use the CommentLuv plugin for comments. If you have a blog and you select this option, a link to your latest blog post will appear along with your comment.
Thanks!
Copyright © 2010-2011 James W. Howe – All rights reserved.
’56 Thunderbird
by James Howe on Mar.24, 2011, under Automobiles
(Nikon D700, 70-300mm at 180mm, ISO 250, Exposure 1/500 sec @f/5.6)
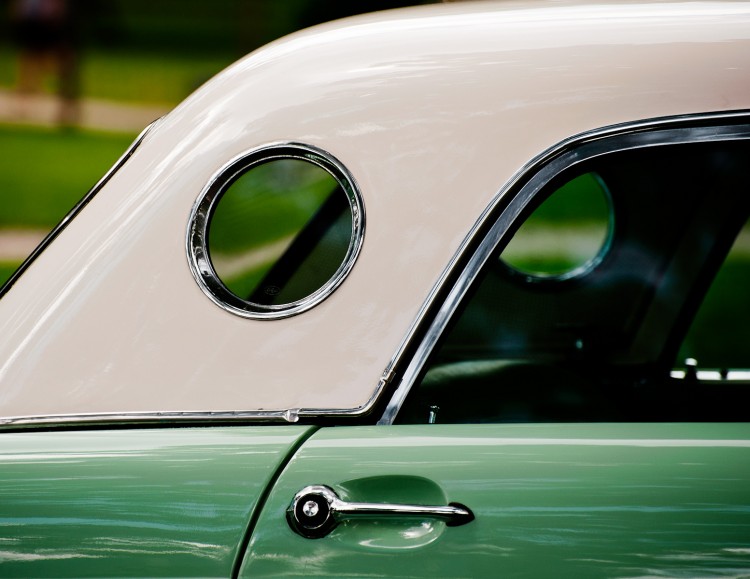
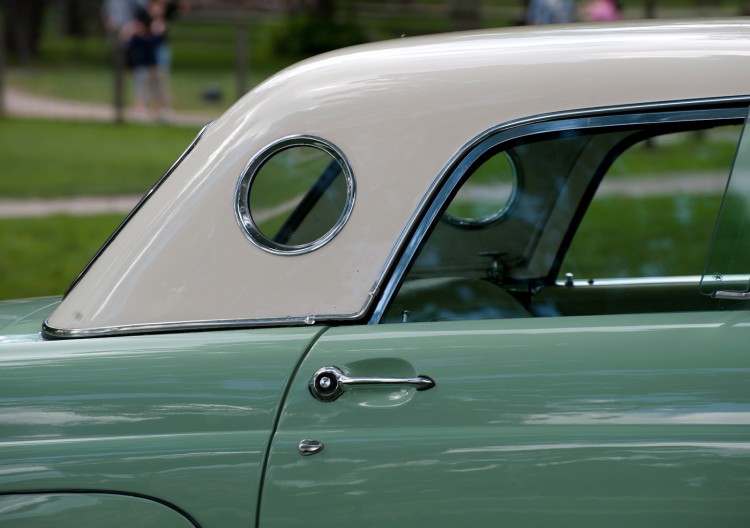
This is a shot of a 1956 Thunderbird Convertible taken at the 2010 Motor Muster held annually at Greenfield Village in Dearborn, Michigan. Processing on the image was fairly minimal. I created more of a square crop to focus on the window ports and I used a curves layer to darken the image a bit and add some additional contrast. I used a HSL layer to remove the blue sky reflection from the chrome and then applied a little vignette in Lightroom.
Got comments? Leave them below!
Copyright © 2010-2011 James W. Howe – All rights reserved.
‘El Morro’ – Puerto Rico
by James Howe on Mar.21, 2011, under Travel
(Nikon D700, 28-80mm 3.3-5.6G at 50mm, ISO 200, Exposure 1/500 sec @f/8.0)
Here’s something different, an image in color! I’ve had this post sitting in draft stage for some time and I finally decided to publish it. No reason for the delay, it just got ignored for some reason. The picture was taken while my family was on on vacation in Puerto Rico last year. It shows one of the two forts in Old San Juan, Puerto Rico known as ‘El Morro’ officially named ‘Fort San Felipe del Morro’ When I took the shot there was a boy sitting on the grass and I thought he added a bit of interest to the shot. Unfortunately I think he’s a bit too small to really have much impact on the picture, particularly in a smaller image.
Processing included converting the LAB mode and adjusting the A/B curves to bring out more of the color in the shot. I’m still not completely happy with the color of the finished image, however. I might have to play with it some more.
Copyright © 2010 James W. Howe – All rights reserved.
Arches – Metropolitan Museum of Art
by James Howe on Mar.19, 2011, under New York
(Olympus E-3, 14-54mm at 14mm (2x crop factor), ISO 400, Exposure 1/4 sec @ f/5.0)
On my last trip to New York (too long ago), my wife and I visited the Metropolitan Museum of Art. It was a rainy Sunday and the museum was quite crowded. This was my first time visiting the museum and I really enjoyed shooting some interior shots. Unfortunately the camera I had at the time wasn’t great at higher ISO values. I took several shots of the main entry area, but many of them ended up being blurry because the exposures were too long. My camera had image stabilization which did help me hand hold some shots at slower speeds, but too many shots still ended up being useless. The one you see below was a borderline image. I liked the composition with the arches and the skylights and for the most part the image was fairly sharp. I finally spent a little time with it to see what I might be able to come up with.
With this type of shot, my first inclination is to go with black and white. The picture was meant to capture some architectural shapes and black and white does a nice job of keeping the focus shapes and textures. As is my usual process, I created a copy of the background layer and took that layer into Silver Efex Pro 2. I then took a pass through the presets to find a starting point to work from. I’m not sure why, but I’m finding myself drawn to a preset called ‘Antique Plate II’, which provides toning and reverse vignetting. I think the reverse vignette works well with this image because it was already bright from the two skylights. The added vignette brings the eye more to the center which highlights the curves and lines that attracted me to the image in the first place. The Antique Plate uses a yellowish tone to create an old photo look, but I thought it was too yellow, so after I got the image back in Photoshop I added a HSL layer and reduced the saturation to give the image a more muted tone.
Please leave me your thoughts and feedback in the comments below. Be sure to use the ‘Comment Luv’ link to point back to your blog if you have one.
Copyright © 2011 James W. Howe – All rights reserved.


