Posted on Mar.26, 2011, under Automobiles
(Olympus E-3, 14-54mm at 17mm (2x crop factor), ISO 100, Exposure 1/100 sec @f/7.1)
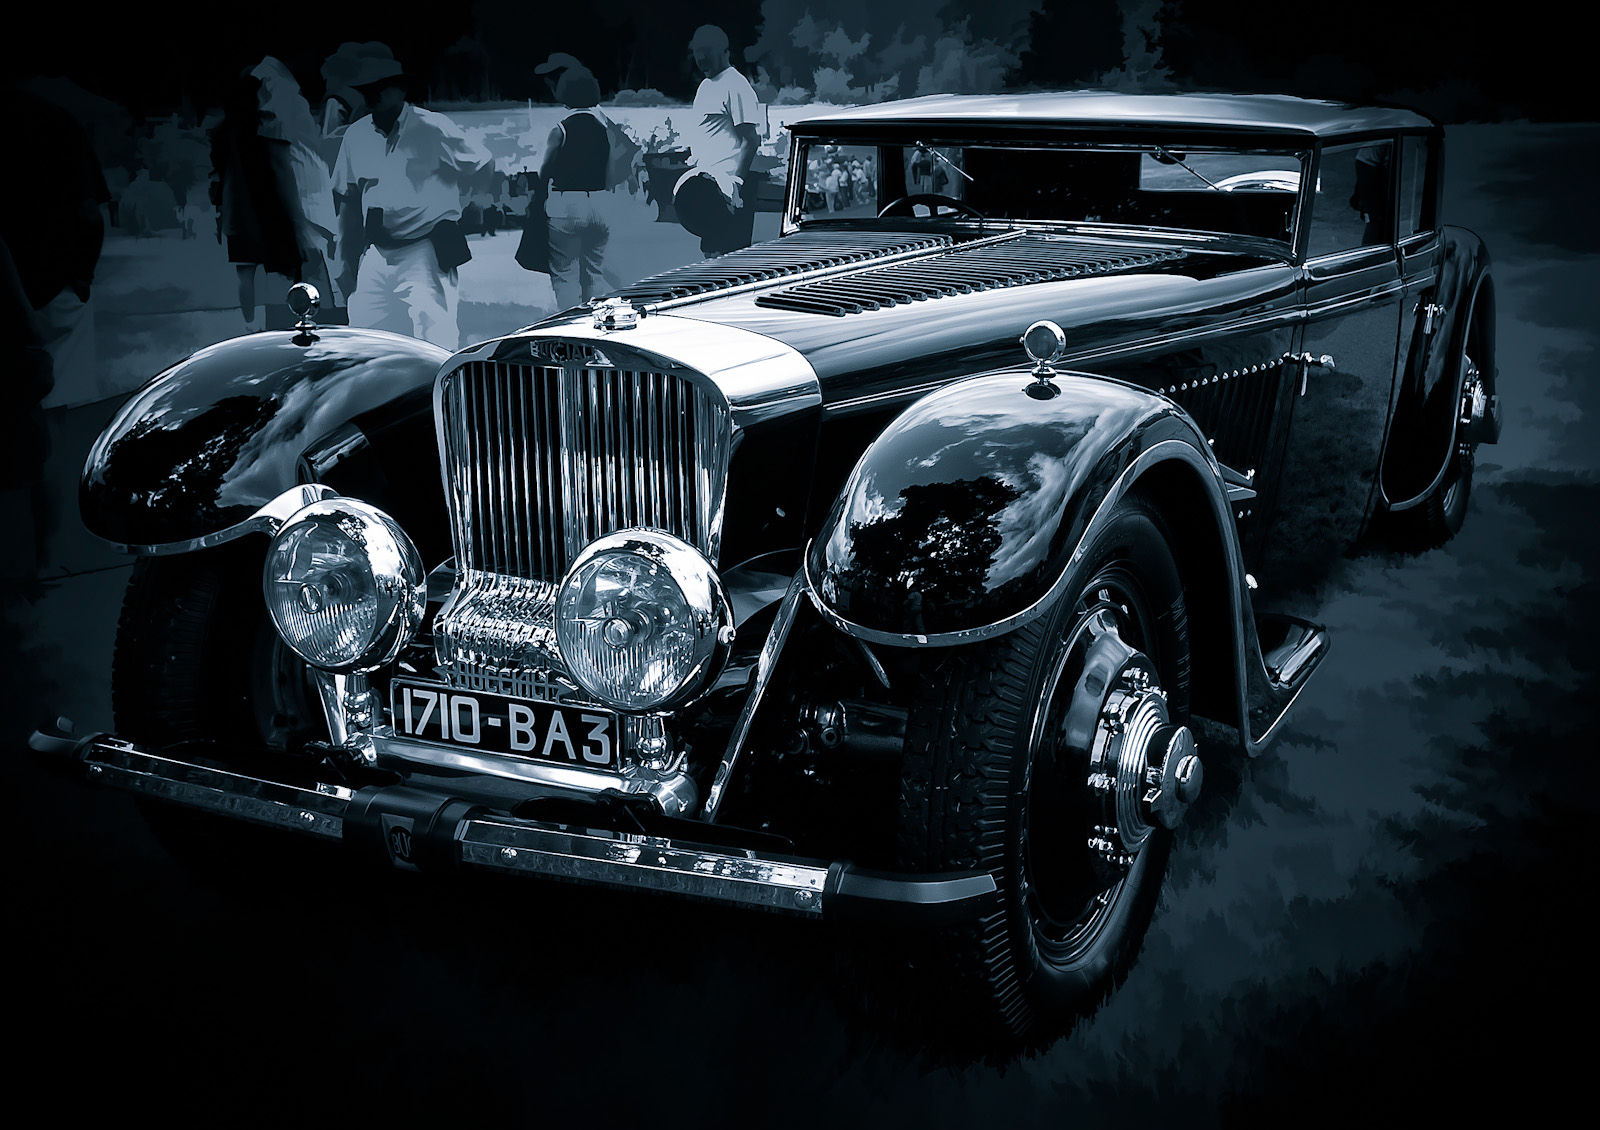
Today’s image was not the image that I was planning on posting today. I have another shot of this car, a detail shot of this 1932 Bucciali TAV 12, which I was going to post. I was simply going to clean up the full length shot of the car to give viewers an opportunity to see what the entire car looked like. The picture was taken at the 2010 Concours d’Elegance held at Meadowbrook Hall in Rochester Hills, Michigan. The show always features a terrific collection of classic automobiles both common and rare. This car was parked under a tree and was the first car people saw when the entered the grounds. Lots of people were surrounding the car so it was difficult to get a clean shot. I never really thought I would do anything with this picture, but as I started to make changes, I started to like it more and more.
The first thing I did was to perform some cropping in Lightroom. I wanted to eliminate as many of the people in the shot as I could. I then applied a post-crop vignette to darken the edges and make the people disappear a little more. I was going to stop here, but I just couldn’t resist making some additional tweaks in Photoshop. In Photoshop, I started to clone out some distracting elements. There were a couple of places which had ropes that I thought I could easily get rid of. There was also a person’s head showing up just behind the car and I figured that was easy to remove as well. I then thought I would try using Topaz Simplify to creatively blur out the remaining people. I’ve done this before and I like the effect. I use the Buz Sim preset and then mask out the parts of the image that I want clear. In this case, I masked out the car. I like the way Buz Sim makes the grass and people a little more abstract.
At this point I once again thought about quitting, but decided to try one more thing. I wanted to see what it would like in black and white so I opened up Silver Efex Pro2 and played around a bit. I noticed that I really liked some of the darker presets, but I didn’t want the car to be too dark so I increased the brightness just a bit. I also decided to give the image a blue tone. A minor curves tweak and some sharpening and I ended up with the image you see above (click to see it larger). Compared to the original (seen below) I think it’s a big improvement.
Love to know what you think about the image. Please leave your comments below. Also notice that I’ve started to use the CommentLuv plugin for comments. If you have a blog and you select this option, a link to your latest blog post will appear along with your comment.
Thanks!
Copyright © 2010-2011 James W. Howe – All rights reserved.


Chris Nitz recently posted…Beer Label Friday Week 12